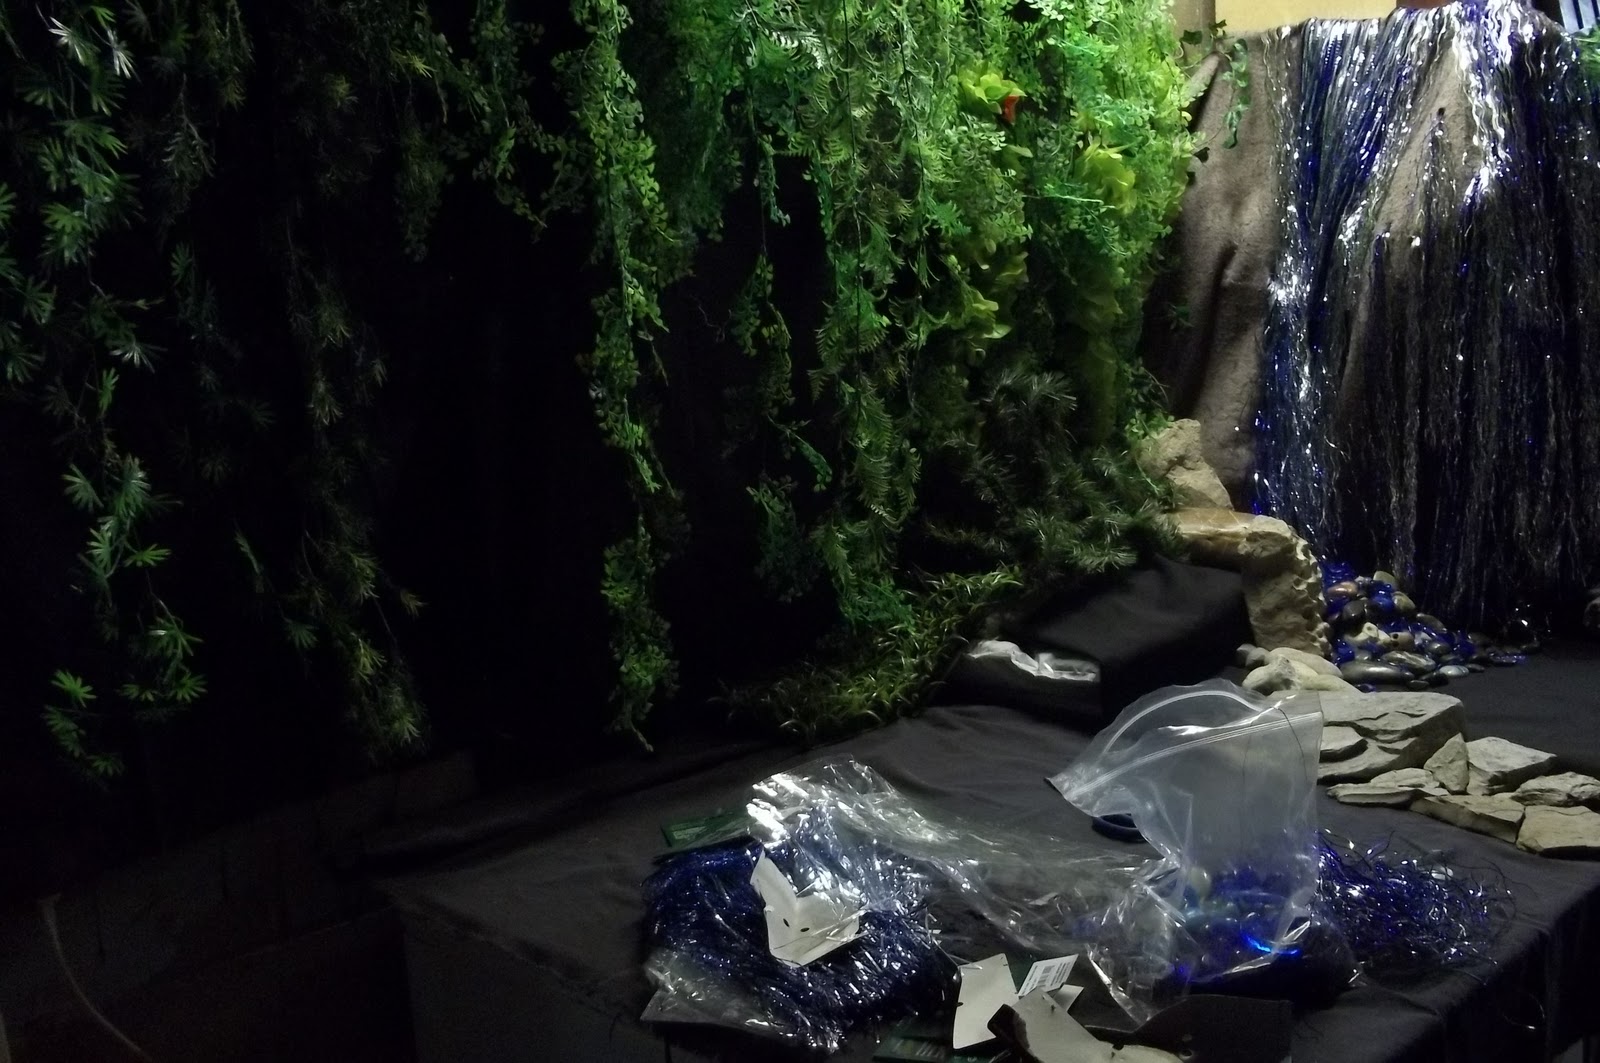
This is the set of my waterfall.
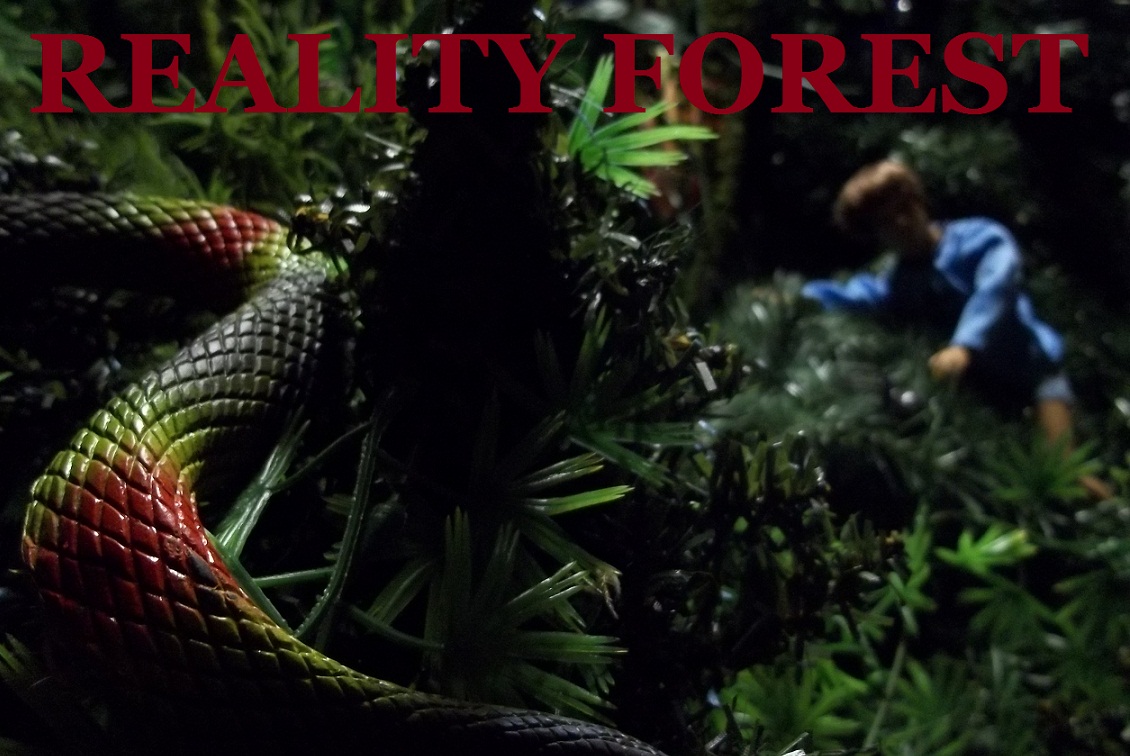
Here are a few characters sitting on the rocks next to the waterfall.
I used my regular collection of vegetation for this set, but my surprise ingredient for this set is Christmas tinsel.
Here's a close-up of Matthew sitting on rocks and Gina is behind him. The water is glistening behind them as it falls from above.
This is how I started the set.
I start off by nailing black cloth to my garage walls. It's usually permanent which is why I nail it.
I then tuck plastic green plants into this and let them hang.
To the right I have an old wooden storage cabinet. I'm using this as the backdrop of the falls. I stuffed plastic grocery bags with old paper and nailed three to the cabinet. Then I covered them with a grey blanket. You can see the lumps where the bags are.
Here's a side view.
For the ground I use flat boards. As this set sits on my 10 cubic foot freezer I will be using a section that hangs over the freezer. This will be where the water from the falls pours into.
The two holes you see are big enough for a couple of dolls to fit through and is made of cardboard. (It's easier to cut.) Later on, this will give the appearance the dolls are in the water. They will actually hang through the holes and the water is added around them.
The white bag you see is a bag of soil that I use as a weight to keep the overhanging boards in place.
Some of the tricks of the trade. A green lei. Yes I use about anything for vegetation. And they are cheap.
You can see I tucked the lei behind some of the hanging plastic plants. It just gives my set a lush look.
You can see the lei again. This is near the top of the waterfall.
You'll also notice I cut slits into the grey blanket. This will be where the water will be flowing out of.
You can see I've added even more hanging vegetation.
Now I covered the bottom with black cloth. I usually use my grey blanket but I couldn't this time so I decided to use the black cloths that I have. Each of them is about 2'x3' each. I've had them for years and the edges are freyed all to heck but they serve a purpose. Besides it's good to reuse. This way you can save money and get something really good for your sets, like a new doll.
I'm using three colours of tinsel for the water. Cobalt, light blue and silver.
Here's what it looks like out of the packages and next to each other. It has a shimmery water feel to it.
I'll also have to add rocks to the base that have been clear coated with spray paint.
It makes them look continuously wet.
Now it's time to start inserting tinsel into the slits. I'll start off with the cobalt tinsel first.
More rocks and more tinsel. I started off with the darker blue as it will give a blue watery feel. I'll use the lighter colours on top to make it look shimmery and flowing.
And even more tinsel.
The three colours again.
It's starting to look like flowing water. Still need more water though.
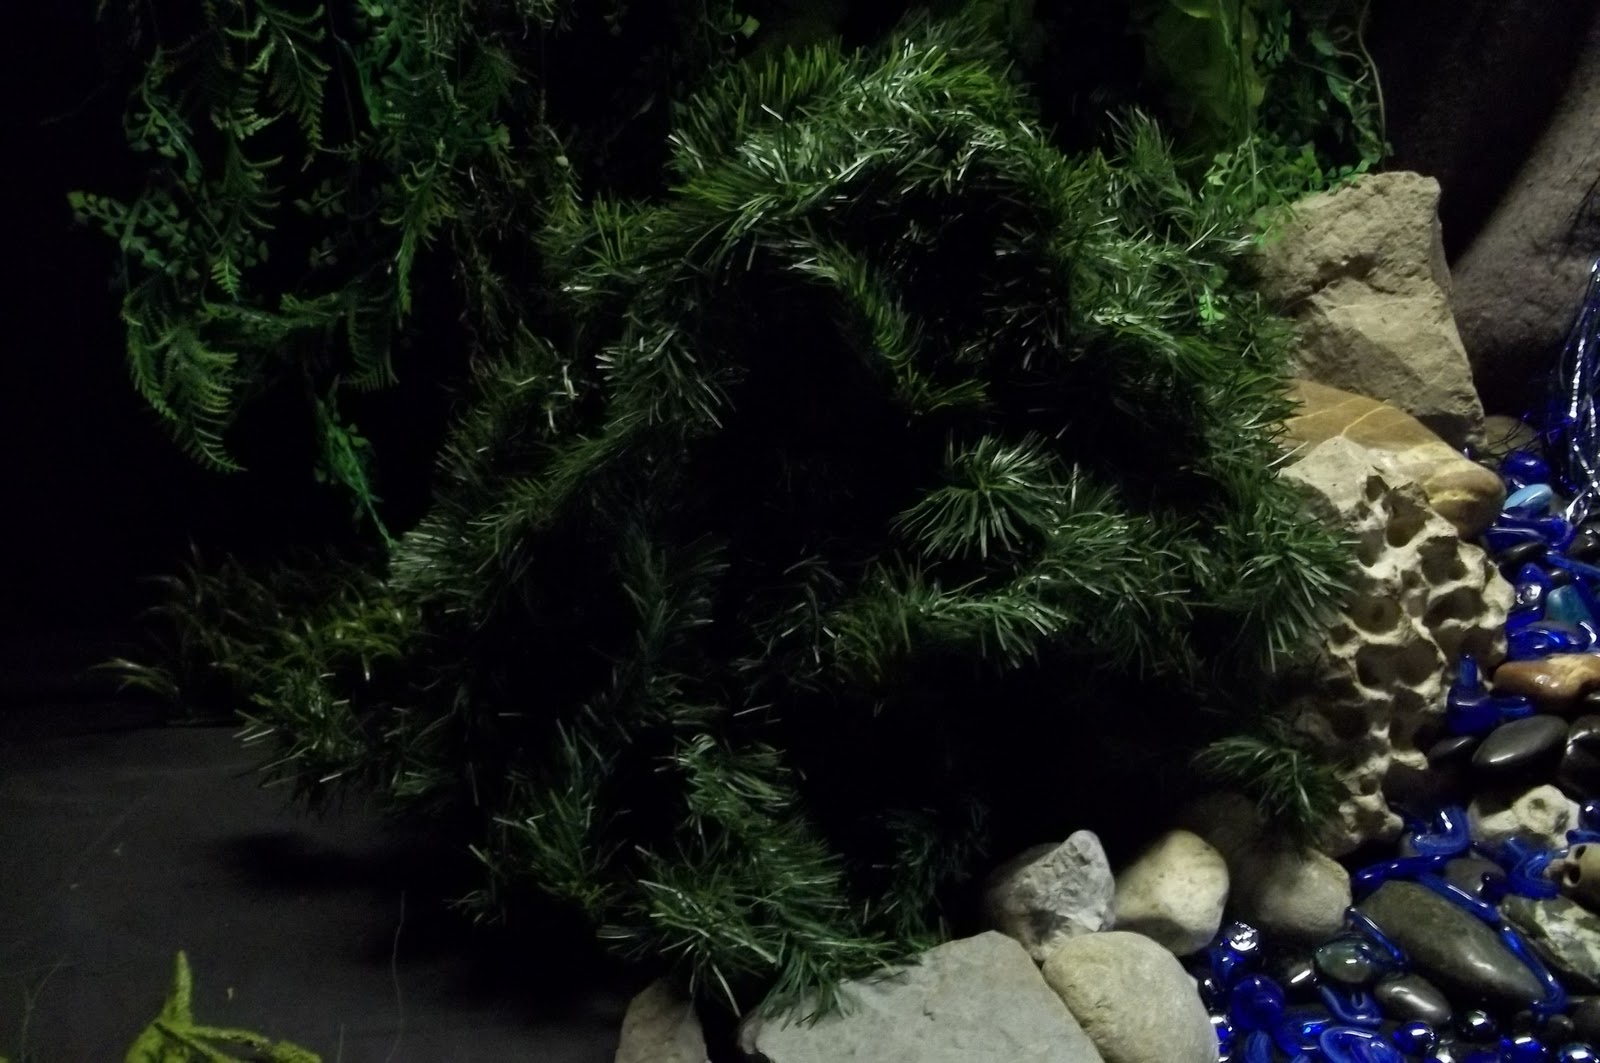
Now it's time to work on the base where the water pours into. This is where I get out my cobalt blue glass beads.
I put some on top of the rocks that I have at the base. This gives the impression of flowing water.
And I also add more rocks to create an edge for the dolls to sit on, stand on, dive off, whatever.
I'll fill in the area with more glass beads to make it look like a small pond or swimming hole.
More glass beads.
And a close up shot of them.
I have lots of different shapes of glass beads that I've colllected over the years. They can be purchased at dollar and craft stores very cheap.
I may try to use some of my green beads for another set.
Here's a bag of them on the set.
More plants and vegetation. This is actually a bundle of green Christmas garland that I bought for a dollar.
Dollar store find. I'll tuck these into the garland.
The final product.
I also use decorative christmas trees purchased from the dollar store a few years ago.
After-Christmas-Sales are usually where I get my best set ideas.
I used the doll so you can get an idea of the size of trees. Most of these trees are in the background and I cover the base with a plant of some kind.
Hard to see, but this is how they look when covered.
Now come the rocks on the ground.
I will also include some moss for the ground.
Most of the photos of the set are taken from further away so you can be liberal or generous with the amount of moss you use.
This is a great view of the trees and the rocks and moss after it's been set up.
And the final product. My waterfall set with dolls.
A little bit further away.
It's the second largest set I've made. It measures about two meters long and a little less than a meter deep.
Here's Matthew and Gina relaxing next to the waterfall.
Taking a nap. Enjoying the free flowing water sounds.
Hope you enjoyed. Until the next set.