Wednesday, December 15, 2010

RIP Cassidy The Giant Rabbit

Cassidy, the rabbit-actor who played the giant rabbit in Reality Forest, passed away suddenly on Monday December 13.


This is a small showing of the work he did with me.
As an individual he loved his picture taken. He would pose for you to get the perfect shot, then he would change positions for you to get an even better shot.
In this scene he was supposed to terrorize the characters he was working with.


Instead he became a diva and couldn't work under the strenuous conditions. The actors were disrupting his focus.


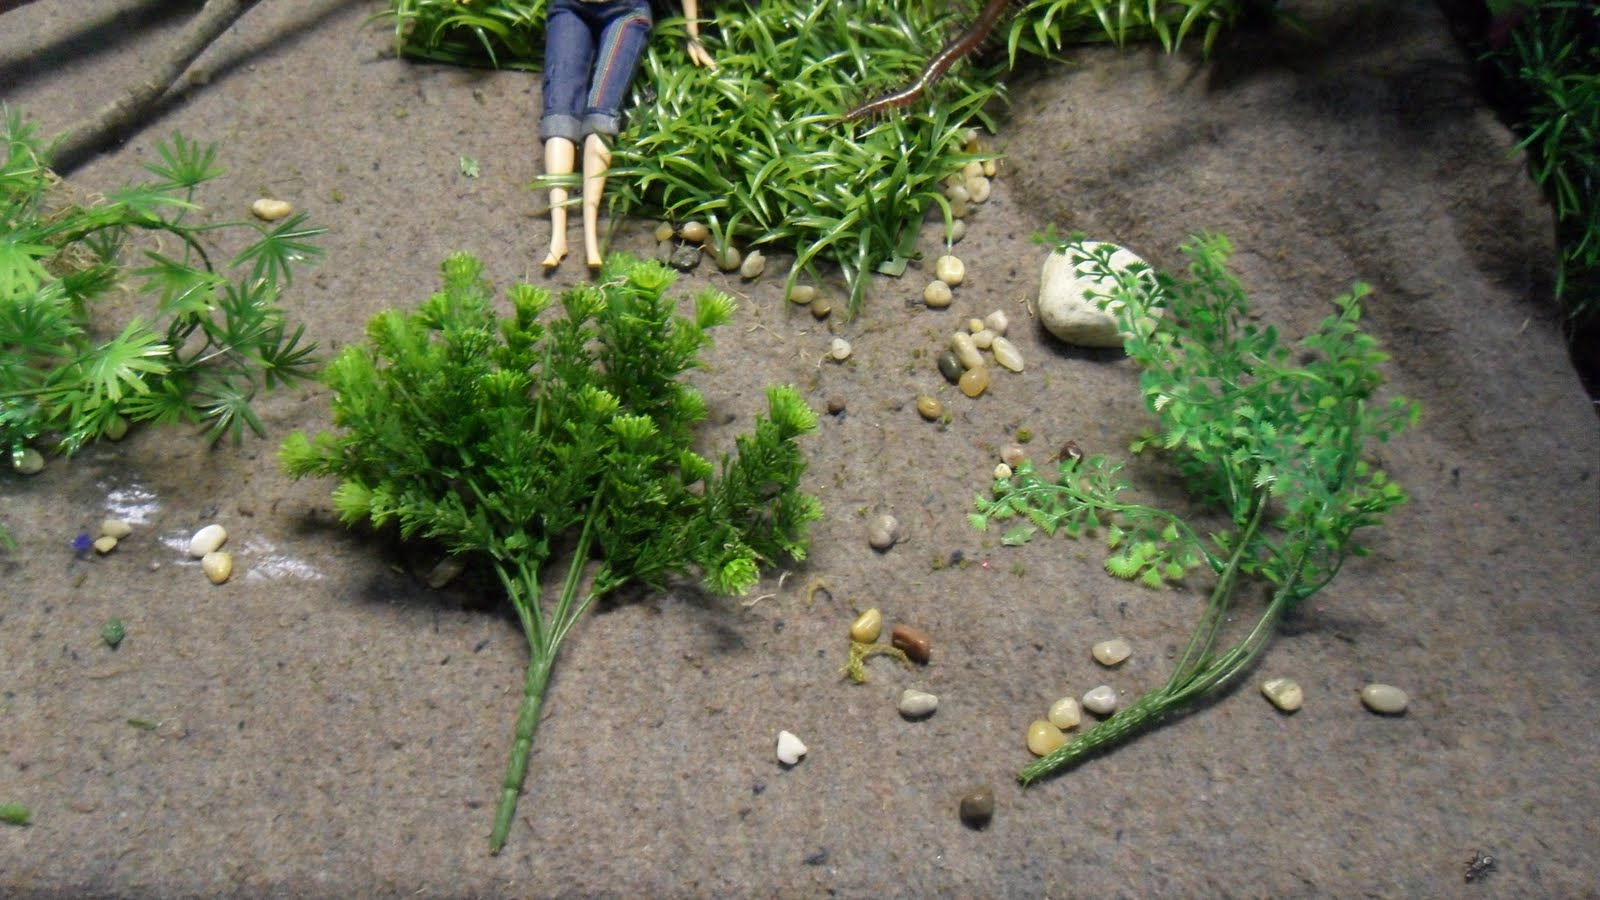
In this scene he was to terrorize the fellow laying on the ground in front of him.


Instead he decided to relax and pose.


Like the diva he was, he was ready to play when a treat was introduced.

And I had to change the position of the doll to work around the rabbit.


He didn't seem impressed with the leg prop either.


He turned a horrific situation into something cute. He didn't even try to nibble the leg in this scene.


This is one of the most adorable pictures I've ever taken of Cassidy. He just looks like an absolute angel.


This is him checkin out the set. He always gave it a good once over just to make sure there wasn't anything tastey he should know about.


Chillin and being cute on break.


This is one of my favourite pictures of Cassidy. He looks so mean and tough for a giant rabbit.


Looking adorable again.


Again not cooperating. When he doesn't chew on the legs it makes it less horrible.


Posing with a little turtle friend on set.


Cassidy certainly wasn't in the photographic mood this day. He wouldn't give me good face at all. I tried my best to get him to pose with this skeleton and he was not having it.


Before the meal.


During the meal.
You can see I used pink yogurt treats and red chopped strawberries to get him to nibble out of the corpse.


After the meal.


Mr Centre-Of-Attention himself had to upstage the actors in this scene. As always doing it very cute.


(In memory of Cassidy 2007-2010)

Tuesday, October 12, 2010

The Making Of The Stream

I start off with flat board covering my freezer covered in grey cloth. 
I cover the walls with black cloth and add artificial vegetation (plastic plants) on top of that.
To make the back part of the river I raised the back with bags of top soil. They are generally flat to work with and they were in the garage so I used them. They are covered in grey cloth already.
Next I lay down a black cloth folded and laid down from back to front. This is where the river will be flowing.


Now I start covering the edges of the black cloth with big rocks.


Now time to cover all of the edges with rocks of various sizes.


This is from a different angle.


Now it's time to fill in the centre with shiney rocks. This will give the impression of wet rocks. You can clear coat rocks with clear paint or even purchase them this way.


More rocks added.


Now I've added moss covered rocks on the outer edges and I will start to fill in with more plastic vegetation.
To top off the river, I added cobalt blue glass. This gives the impression of water running down a stream.


This is where you can now add insects and bugs and characters to enhance your set.


This is one of the final shots used for Reality Forest.


Here is the same shot further away at a different angle.


And here is another shot used in Reality Forest.


Here's another shot looking up the stream with a different character. 
This time you can see some bugs on the rocks and a conveniently placed skull in the flowing river. Oooh, Reality Forest is scary.


Another scene. You may notice the small frog in the foreground.


And another angle.


And one more scene. This time with a giant alligator.


Here's a far shot of the same scene.


I just threw this pic in to be funny.
I hope you enjoyed making a river in Reality Forest.


Until the next diorama. (might be a waterfall) Enjoy

Friday, May 7, 2010

Taking Down A Set

It's always sad to take down a set.
I try and get as much use out of one set as possible.
I photograph my scenes in the garage under flourescent light. (This way I save the flash on my camera.) I tend to be pretty trigger happy when it comes to the camera, so I tend to take about 2000 pictures for each set. Usually about a third of those end up trashed because they're too blurry, odd light, or bad angles.
This picture is a view of the character Gina in Reality Forest. The bugs are pretty large. Larger than the tip of my thumb. Taking a pic of them close makes them look bigger. I find the use of the plastic bugs in the forest to be very very effective in creating a creepy, lively place.


This is from a different view of the same set. Someone is looking at her from the bushes.


I'll leave Gina in the take-down process just for comparison of Reality Forest props.
This is the entire set.


And this is a little further back. Complete with garage stuff in the background.


The fluffy, bright, green plants are lei(s). I just stuffed them into the black cloth attached to wall. (You'll see this a bit clearer later)


Christmas garland I bought on sale for fifty cents. Of course I purchased a few. I just bunch them up and stuff them along the back edges or in this case in the front to cover some branches.
The big green and red bugs of Reality Forest like this type of vegetation.


The plastic grass tiles I bought at the dollar store. I've seen many varieties going for up to $15 a tile. I prefer to stay on the cheap side as much as possible.


The small tree was from a discount store and the small plants are just broken bits off of other plants. The stones were a dollar for a bag, but they're pretty much free when you go to a beach or anywhere outdoors.


I made this mound out of a small 2x4. It was just going to be covered anyway and it worked enough to hold the branches in place.


These ferns and hedges were stuffed in the sides of the set at the back.


This plant is from a yard sale. It came with some fake disgusting flowers, but this part was salvagable.


Once again we see Gina chillin in the forest but with less props.
A centipede sits next to her in this shot.


Artificial discount holiday trees always a bargain during after Christmas sales. Who says Christmas decorations have to be for Christmas?


Stones, vines and plastic tie wraps shaped into a funky crawling vine (or hanging in this case).


Once again more shrubs, plastic branches and small stones.


Plastic leafy garland.


Sideview of set with mound.


Sideview of set with mound stuffed with some artificial plants.


Blue vine plastic flowers.


The set getting skimpy.


Even skimpier.


More shrubs and ferns.


Very, very skimpy set.


Black fabric cloth attached to wall. You can use double-sided tape or nails.


I start off by tucking plants in between the cloth and wall to hang down in front of the material.


And finally the end, or the beginning, a grey blanket covering a flat board. I've also used brown and black cloth for the ground as well.
I use the board as it gives me more depth to work with because it sticks out over the freezer allowing me to squat, kneel or even sit on a chair to photograph.


From this...


To this!!!


Keep browsing on Reality Forest for my next diorama.